As an avid gardener, I find it troubling when I can’t cultivate the crops I want due to the inconvenient weather and climate in my area, along with pests that want to devour them.
In this rundown, I’ll tell you the best ways to help indoor plants thrive with a DIY grow light system. You can avoid these inconveniences when you have an ideal amount of space and an affordable set of tools.
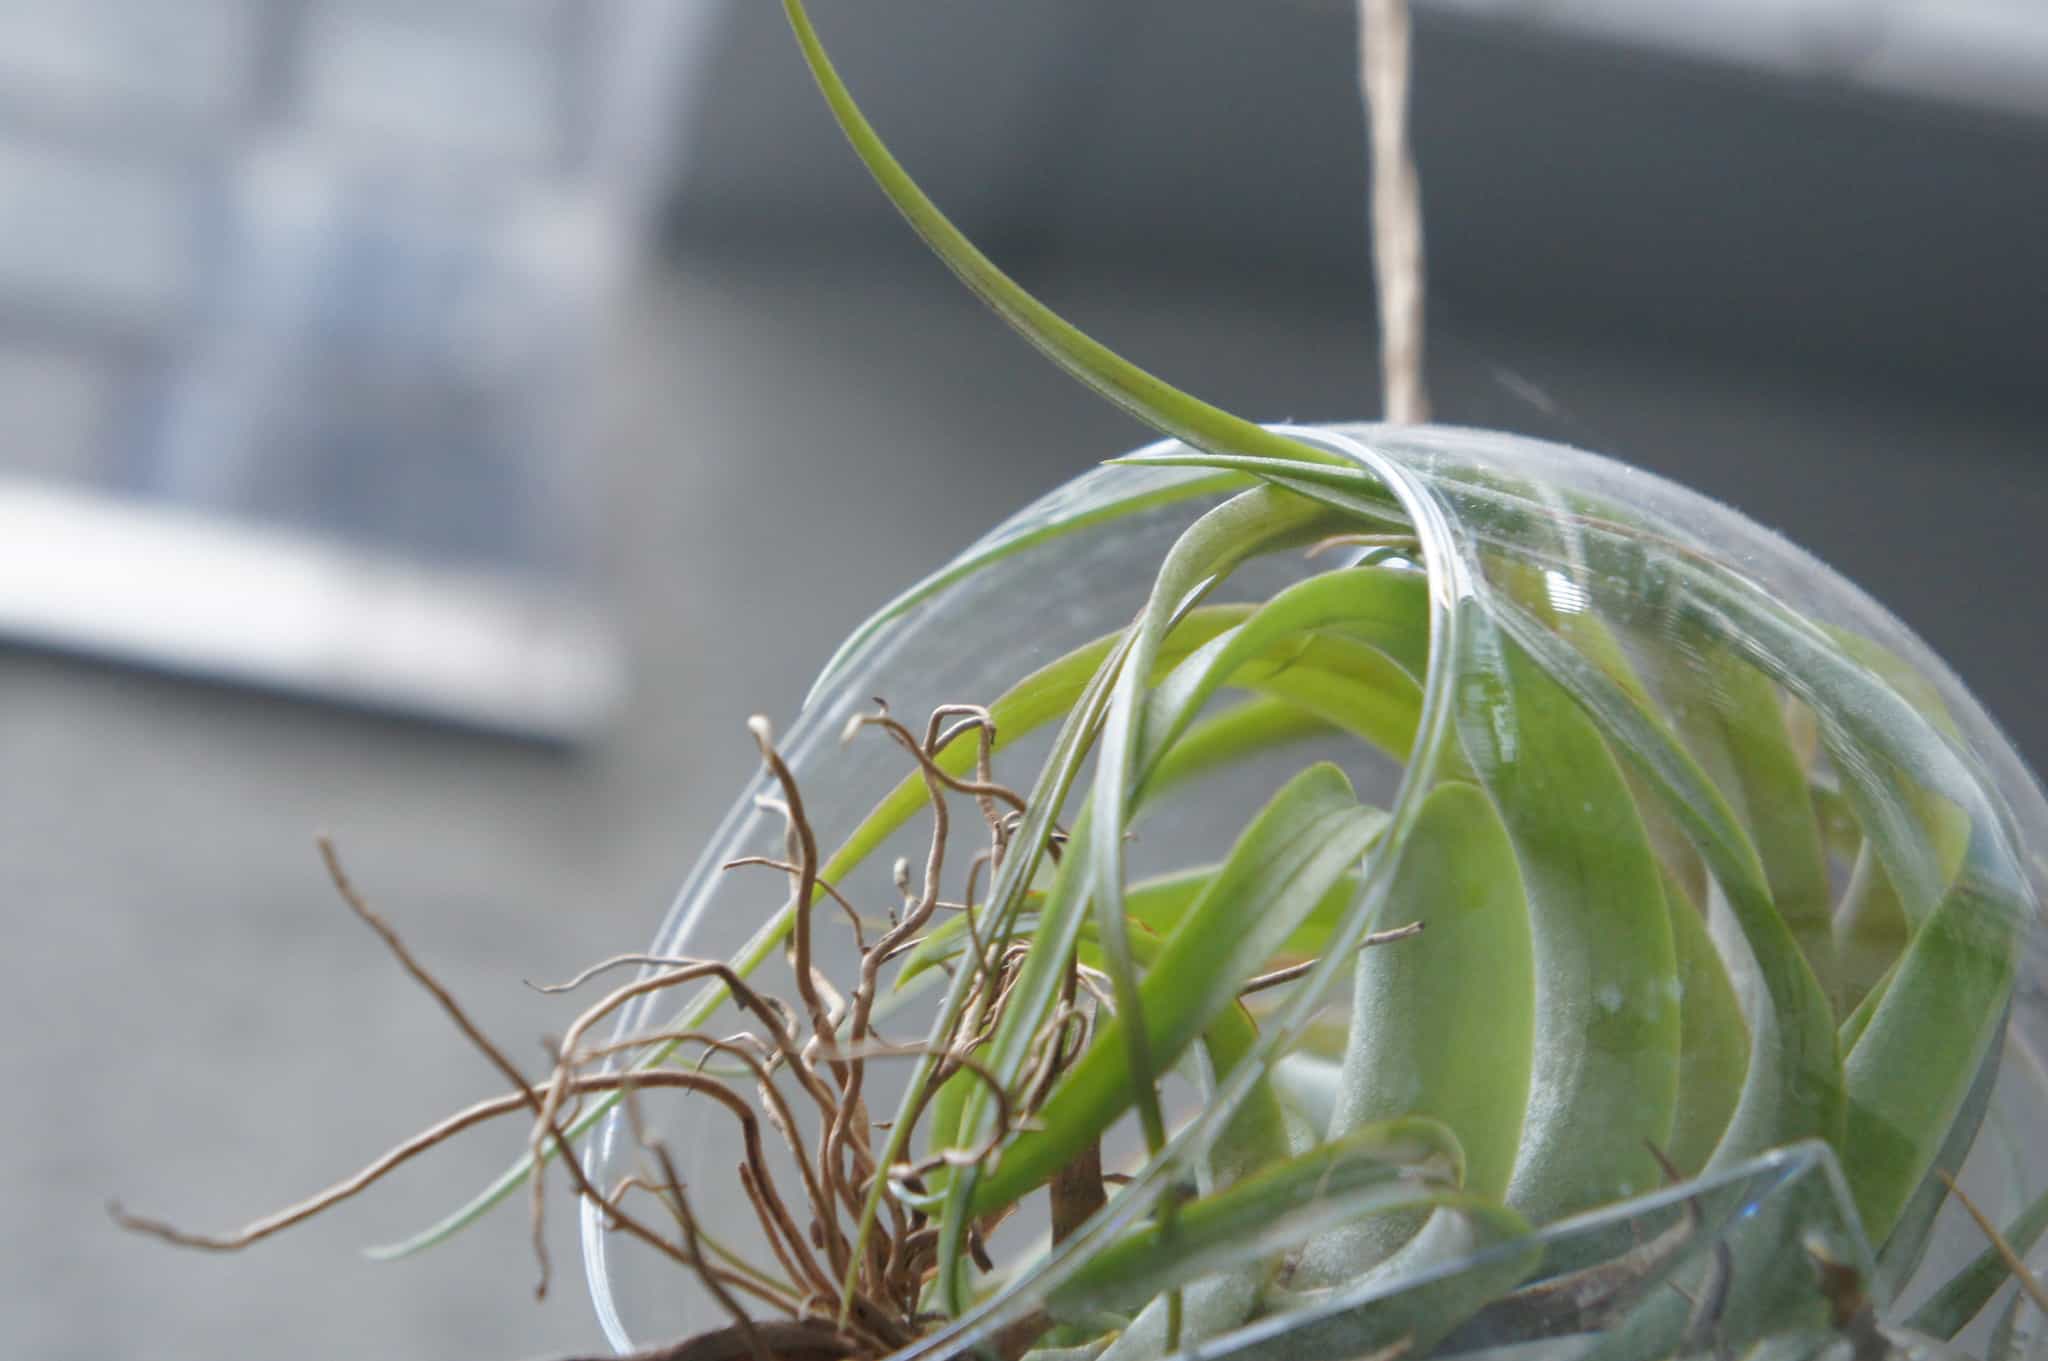
Also Read:
What Are the Benefits of Placing DIY Grow Lights in My Home?
Many gardeners believe setting up DIY grow lights make ideal additions for their homes. Without natural elements acting as barriers to their growth, they can cultivate their crops year-round and provide a balanced environment to enhance them.

Many people enjoy getting a head start on their growing season due to controlling their plants’ growth environment.
I recommend creating a space in your house to install these lights to meet your gardening needs. Even the smallest room in your home can hold enough plants for a plentiful harvest. Some benefits of using a DIY grow light system for your indoor garden include:
- Starting your harvest earlier – depending on your weather conditions and gardening preferences, you can begin growing a spring harvest before migrating it to another outlet.
- Providing more efficient space for your seeds – this factor might be ideal for gardeners who have trouble cultivating rows of seeds in a garden without uniformity
- Faster growing periods – when you integrate grow lights for your harvest, you can control how much light or heat they receive and won’t have evening hours or clouds interfere with their development
- Growing plants with higher yields – I endorse growing your indoor plants in controlled environments by using brighter lights, monitoring their nutrient intake, and giving them enough space to thrive
- Wasting less gardening resources – when you use DIY grow lights for gardening, you can waste less seeds due to the lack of natural obstacles during germination.
What Do I Need to Gather for My DIY Grow Light System?
Before you begin your indoor gardening process, you must gather the necessary tools to construct a light system that works efficiently and compliments its installment area. Although your room size might vary, the supplies you need relatively stay the same.
When I built my grow light system, I measured the dimensions of my indoor garden space to ensure I have enough space for placing my shelves before planting the seeds indoors. Some of the things you’ll need to gather for a DIY grow light system include:
- Shelving rack unit
- LED or fluorescent lights
- Chains or hooks
- Extension cords or power strips
- Timers
- Growing trays
- Watering systems
Shelving Racks

A sturdy rack should hold as many seeds or plants as you desire, assuming you want to grow a large surplus of greenery for your home garden.
I recommend using a five-level shelving rack if you’re an avid gardener. By choosing the larger option, you don’t need to keep your plants cramped on the same level.
Another budget-friendly solution you can consider is buying multiple smaller racks to accommodate the types of plants you want to grow.
When purchasing my racks, I measure the average shelf height and length to determine how I can place my seedlings, lighting systems, and whether I may need a light stand.
Collapsible racks might be ideal if you need to move your station when performing renovations or other room household tasks. Metal wire makes an ideal material that’s appropriate for storing anywhere.
LED or Fluorescent Lights
One advantage I enjoy from growing indoor plants is controlling how much light I can give my plants daily. The plants can thrive much longer when inconvenient weather and the night don’t interrupt the growth cycle.

The best types of lights you should consider adding to your DIY grow light kit are fluorescent and LED lights. For my light setup, I incorporate alternating warm and cool light bulbs to balance my plants’ growth.
Here are a few tips I recommend you do when placing the lights you prefer:
- Consider the number of shelves you have – you’ll need space to hang them above the plants, so consider which spots you want to place them.
- Consider how long you’ll keep them on – the average time frame most gardeners use is between 16 to 18 hours.
- Balance the distance between the light panels and the plants – if you place them too far, their intensity won’t reach the plants and if you place them too close, they can damage the plants.
Which Lights are Best at Which Stage?
Fluorescent lights might not have a large yield or work effectively on flowering plants, but they are ideal for gardeners seeking options that match limited budgets. They’re more suitable for the early stages of seed and plant growth.
You can also place fluorescent lights closer to your plants, depending on their size. They don’t give off too much heat, making it excellent when you use smaller spaces for indoor gardening.

LED lights won’t require an exorbitant power supply, making them ideal if you prefer creating an eco-friendly DIY grow light system. They also emit less heat than traditional light, allowing gardeners to use them for extended periods at reasonable distances.
LED lighting might be a more suitable option for plants further in the growing and blossoming stages. It would be wise to measure how many hours you leave them on since too much close range light might damage sensitive plants.
Did You Know?
The colored wavelengths of LED lights play an essential role in plant growth. Typically, the red light promotes flowering, the blue light promotes the growth of thick leaves and chlorophyll levels, and the green and yellow lights assist with photosynthesis.
The amount of light you use depends on the type of plants you want to grow; some grow better in warmer LED tones while others thrive with cooler tones. I recommend balancing your plants’ DIY LED grow light intake for the best results.
Hanging Chains or Hooks
After acquiring your lights, you should start hanging them up. However, not all shelves have the proper equipment for supporting LED or fluorescent lights. One solution that helped me out was using chains and s-hooks to support each light over each shelf compartment.
I enjoy using hanging chains for my DIY grow light since I can adjust their height freely to suit my plants’ needs. As the plants grow, you’ll need to move the lights further away to prevent damage.
Quick Pro Tip: Most steel s-hooks have the strength to withstand an LED light’s weight. These limits might differ between manufacturers, so I recommend comparing your options to determine which ones are sturdier.
Extension Cords and Power Strips
Depending on your indoor plants’ location and the number of lights you place on your DIY grow light unit, you might need to use extension cords or power strips to ensure excellent growing conditions for your indoor harvest.
I recommend using power strips for your lights because you might have limited outlet space in your home if you plan on harvesting multiple plants. This method typically lets you save more space without sticking too many plugs everywhere.
Timers
As someone with a busy schedule, it’s sometimes difficult to track how long I monitor my plants’ light exposure. Although most people leave them on throughout the day, they might forget to turn them off before bed.
One way to remedy this process is by getting a timer. By setting the timer for a maximum limit of 18 hours, you can focus on other tasks throughout the day after observing and caring for your indoor plants.
Growing Trays
It would be best to purchase growing trays without mesh bottoms to prevent water from leaking onto the floor or seeping into lower shelves that might cause excessive watering.
Watering Systems
Another accessory you should place on your DIY grow light rack is a reusable water bottle or canteen for water storage. Some models might have accessories that allow you to hang them, so it would be wise to put them close to your supply shelves. Your local sports store should have some in stock.
How to Set Up Your DIY Grow Light System
Once you’ve gathered your equipment, you can begin constructing your DIY grow light system. Although some gardeners might do this process differently, here are the steps I used to set them up.
- Clear some space in your desired indoor gardening room or grow tent and set up as many shelving racks as you need.
- Place the LED or fluorescent bulbs in their frame and hang them above each shelf.
- Set your timer for daily power usage.
- Connect the lights to power strips and extension cords and plug them into the nearest wall outlet.
- Place your seed trays on the shelves and water them.
Quick note: Understanding how to use grow lights is a fundamental step before you should even consider the above DIY approach.
Frequently Asked Questions
If you still have questions about your DIY grow light, here are a few FAQ to help you out.
How far should I place my lights away from my plants?
Although this factor might differ depending on the plants in your indoor gardening space, the average distance between the LED lights and plants typically ranges between 16 and 36 inches.
If you have seeds that need extra exposure, use the chain to lower the lights closer to them. If they grow taller, increase the distance.
Is it a good idea to leave my grow lights on 24/7?
Many indoor plants do well with grow lights or minimal sunlight; leaving them under artificial lighting all the time isn’t the best option.
After spending most of the day absorbing light, plants need to rest and metabolize their energy at night. After using the lights for 16 to 18 hours, you should turn the lights off to balance their growth.
How do I get a greater yield for my indoor plants?
While DIY grow lights can help, it can also be beneficial to add a heat mat in your set up. Some other methods of producing a greater yield include increasing your light’s intensity, optimizing your room’s temperature and humidity to match each plant’s growth requirements, and giving your plants the nutrients and water they need.
You can also prune your houseplant to keep its growth under control. I typically trim the leaves that don’t receive as much nutrient or light intake as the ones above them.
Conclusion
You can create a DIY grow light system from several supplies you can gather. This strategy allows you to create an indoor garden space to help you cultivate a fruitful harvest during the winter and prepare to transfer them outside as warmer weather approaches.
I believe building a DIY grow light system can let you organize your plants more efficiently since you have the freedom to label your shelves without the wind or rain misplacing them. You can turn a simple shelf into a layered growing station for your flowers or vegetables.
Building a DIY grow light system allows you to experiment with creating a healthy harvest and save money in the long run.